Pages

Thursday, May 16, 2019

science

Forensic Science

Definition:


5 Forensic Science topics;

  1.  DNA.
  2.  Fingerprints.
  3.  Ballistics.
  4.  Footprints.
  5. Clothes.

    
Finger prints

Aim: To look at the different types of fingerprints.

Materials: 

  1.   Balloon.
  2.   Ink pad.  
  3. Fingers.
Steps:
1. Put your finger on the ink pad.
2. Put your finger on the balloon.
3. Blow the balloon up with your mouth.
4. Place your finger on the powder.
5.Lift the plastic.
6. Put tape on the fingerprint on the powder.
7.  Peal it off.


Image result for fingerprint types
Insert two pictures here of your fingerprints

Ink prints


Thumb print
Index finger print


Record the types of fingerprints from those in your group.

Name
Fingerprint 1 (Thumb)
Fingerprint 2 (index finger)
AisaWhorl
KelesiLoop


Questions:
Do people always have the same type of fingerprint on their thumb and index finger?
What was the most common type of fingerprint in your group?

Dusting fingerprints:

Lifting fingerprints

Aim: To learn how to lift hidden fingerprints from an object.

1. Lifting and Gathering fingerprints.

Equipment:
  1.   Plastic
  2.   White prouder
  3.   Brush
Method: 
  1.   Put your fingerprint on the plastic.
  2.   Put white powder on the plastic.
  3.  Grab a brush and brush the powder off.
  4.  Put tape on the plastic then take it off.


Results:

Lifted fingerprints


Thumb print
Index finger print


Conclusion Questions:
The kind of fingerprint have is a whorl. To improve my finger results next time is that i could probably make my fingerprint a little bit darker.  Secondly next time i do this experiment i could do my other finger and scan it.


Monday, May 13, 2019

Why did you make the pancakes so greasy and why did you add so much salt in all our
Soup because it had no taste well know it tastes like i'm eating salt do you know how to cook

Of course i know how to cook then why does my soup taste like salt i told you because it had no taste oh really so you go and a like 5 teaspoons of salt and make it not eatable you can eat it no you can't well at less it has flavour yeah salty flavour fine i can’t cook .

Home chemistry/science

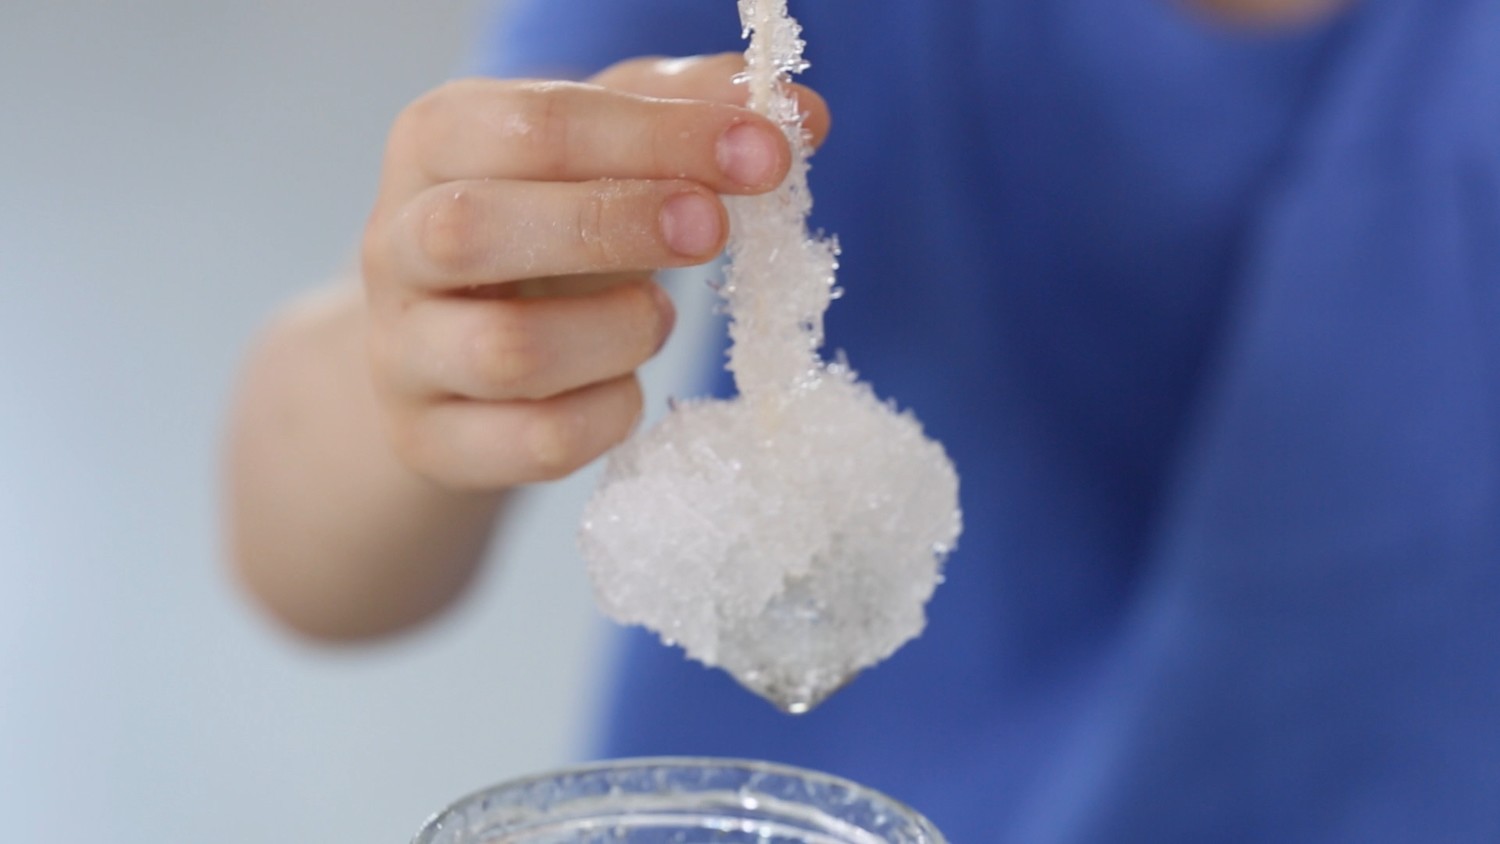
Aim: To learn about a saturated solution and how to make crystals
Definition of solution: 
A liquid mixture, when something is dissolved into a liquid (eg: sugar in water) 

Definition of saturated: 
Having or holding as much as can be absorbed of something (when no more sugar or borax can be dissolved into the water)


Image result for borax crystals

Ratio; 3 Tablespoons Borax per 1/2 cup water

Materials

1) Pipe cleaners
2) String
3) Regs
4)Borax
5)Cups

Process

Step 1:Shape pipe cleaners into star shapes.
Step 2:Hang star on a peg.
Step 3:Mate up borax solution.
Step 4:Label your cup.
Step 5: Pour three spoons of borax.
Step 6: Pour half a cup of cold water into the borax cup.
Step 7: Steer the borax and the water so it can mix together.
Step 8: Pour three spoons of salt in the salt cup.
Step 9: Tip half a cup of water into the salt cup.
Step 10: Steer the water and the salt to mix them.
Step 11: Pour four spoons of sugar into the sugar cup.
Step 12: Tip half a cup of water into the sugar to mix them.
Step 13: Wet the star.


Sugar Crystals

Grow your own Sugar Crystals

Ratio: 1 cup sugar to 1/2 cup water

Materials

1)
2)
3)
4)
5)

Process

Step 1:
Step 2:
Step 3:
Step 4:
Step 5:
Step 6:


Image result for how to make salt crystals

Ratio: 4 Tablespoons salt to 1/2 cup water

Materials

1)
2)
3)
4)
5)

Process

Step 1:
Step 2:
Step 3:
Step 4:
Step 5:
Step 6:


Findings

Describe your crystals in the table below.


Crystal Type
Shape
(Describe the shape)
Size
(of individual crystals)
Hardness
(Crumbly to Rock Hard)
Borax


Sugar


Salt


What crystals worked out best and why?:

Conclusion:

________________________________________________________________________


After watching the videos as a class, explain how the following crystals are formed:


Type
Explanation
Salt


Sugar


Snowflakes


Thursday, May 9, 2019

kahawai

Discussion Doc
Kahawai

WALT: use what we already know to make meaning within a story.

Task
Work on this Doc together with a buddy, or in a group of 3.

When do you think this story takes place? I.e. If in the future, how many years into the future?
  • Old town with a swamp 1982.

Is this the first time Āreta and Trish have taken the boat out fishing. Yes/ No

How do you know?
    • Yes because it say in the text.
What do you think the author means by regular people when he says “...back when regular people could still get petrol.”?
  • Back in the old days they can still use petrol because Areta’s mum told her

In this story, what exactly does the Forest refer to?
  • The forest is a grassy area with trees

Where is this story set do you think?
  • In a swamp with other boaters

What are the clues that tell you this?
    • They like fishing

Why is Grandma Trish so excited to find a Kahawai again. What has happened to them?
  • Trish was excited because she caught a kahawai
Explain why you think this.
    • Because Areta hasn't seen a kahawai be fore

Why do Trish and Āreta let the Kahawai go back into the water?
    • So they could come back another time

Tuesday, May 7, 2019

Monday, April 8, 2019

Rainbow paper

Aim: To separate colours by using the process of chromatography.


Definition: Chromatography is a method of separating out materials from a mixture.Eg. blood, ink, drugs,


Scenario
A crime has been committed. The police have a signed cheque and a letter
from the same crime scene but it seems like the handwriting is different.
They have 3 suspects but not enough evidence. They need to know if the
letter and the cheque were written by the same person.


How do they tell if the pens used for both of these pieces of evidence are
the same?

Materials

1 filter paper
2 water
3 pencil
4 water-based-felt-pen
5 ruler
6 cup


process

Step 1: Get paper.
Step 2: Rule a line with the pencil 1cm away from the bottom of the paper.
Step 3: Draw 2 dots on the line.
Step 4: Fold the paper over the side of the cup.
Step 5: Pour a little bit of water in the cup.
Step 6: Watch.


Conclusion

Overall I think that this was an amazing experiment. It was fun and I can do this at home.It was fun to watch. Thank you all for reading my blog post. Have I nice day.

Wednesday, April 3, 2019

my rugby learning

Malo E leilei my name is kelesi and throughout this term me and my
friends have been training for Rugby and i have been waiting to share
my rugby learning with you.


What we have been doing for rugby training is fitness. The fitness we
have been doing is the, Beep test, running up and down the courts and
twelve minutes of running around the field.


Secondly we have been doing contacts in our trainings. Also what we
have been doing for contacts is a game of rugby and ball skills that
inclued contacts. Contacts are when people defend each other by
tackling.


The activity we done was that people had to line up. 4 people in each
line have a ball and number 1 is the first player and the max number
is 4. If the coach calls out the number 1 then everyone puts their
ball down and run with number ones ball then the game turns into a
rugby game.